You will need:
PVA glue, preferably a more flexible, rubbery variety, rather than a harder wood glue.
Craft knife / Scissors
Hacksaw (optional)
Paintbrush (or use your finger)
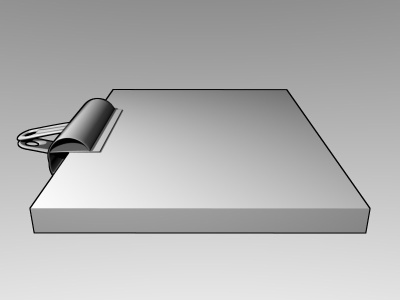
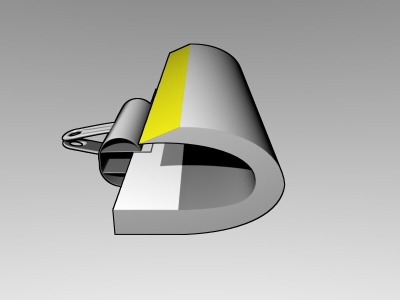
Bulldog Clip or Clamp.
FORMATTING
This method of binding works for stacks of loose papers, such as you would print out on your home printer. Most word processors, such as (free) OpenOffice, or MS Word, have an option to print only odd or even numbered or even pages at a time. This allows you to print out all the odd pages on one side of the papers, then flip the pages over and print the even pages on the other side. Make sure to format the pages so that the margin on the inner edge (ie the edge closest to where the spine will be) is wider than the outer margin, so that the text will remain easily readable.
BINDING

Take the stack of papers you have prepared, and clamp the edge furthest away from the spine side. If you are using an ordinary bulldog clip, wrap a piece of folded paper around the pages to protect them from being marked by the clip. Check that the spine edge of the stack is completely flat and flush.
The following step is to cut grooves into the spine edge of the stack. This step is optional but will result in a more rugged binding. Use the hacksaw to cut shallow grooves into the spine edge of the stack, approximately 2-3 mm deep. (Roughly the width of the hacksaw blade itself.) This can is more easily achieved by using a clamp positioned close to the spine, so that the pages are held tightly together. Alternatively, saw over the edge of a bench, pressing down on the pages with a length of wood. These grooves will give the glue more surface area to stick to, and help it to hold the book together. Ideally you should cut the grooves approximately every 5mm along the spine edge.
Once the grooves have been cut, check once more that the spine is flush before continuing. It is time to apply the glue. In order that the pages hold together firmly, we want to get a small amount of glue in between the edges of each sheet. This is achieved by applying the glue while the stack is curled first in one, then the other direction. This causes the pages to spread out, revealing a small strip of their inside surface.

Bend / curl the sheets over, as if you were rolling up a newspaper. Apply glue all across the spine, which should now have spread out to approximately twice its width. Apply the glue all the way to the edges. Take special care not to miss out on the outside pages. It is important to apply enough glue to allow the pages to easily slide back in the other direction. Repeat the process with the pages curled in the opposite direction, and then flatten the pages out again. Run your fingers along either side of the spine. You will feel the spine 'give' a little as the glue squeezes back out from between the pages. Do not over squeeze. Smooth the remaining glue across the spine, and leave it to dry.
Once the glue is dry to the touch, apply another layer of glue to the spine to give it extra strength and support.
THE COVER
Once the book's spine has dried sufficiently (ie, dry to the touch,) you can attach the cover.
 Measure a cover from card-stock. It should be the size of two of the book's pages, plus the width of the spine. It is best to make the cover over-sized and trim it down once it is attached, to ensure a perfect fit.
 Score four folds on the cover. The first two should be exactly where the cover will fold around the edges of the spine. The second two should be approximately 4-5 mm out from the first two folds. These second folds are where the cover will bend away from the book pages.
Using a piece of scrap paper as a mask, apply glue from one of the outer scores in to just past the center. Then turn the cover around and repeat, so the area between the two outer scores is covered with glue. Only a thin layer of glue is required between the inner and outer scores. Apply a heavier layer of glue between the inner two scores, where the cover will actually attach to the spine of the book.
All that remains now is to carefully fit the pages into the cover. Press the spine very firmly into the heavier strip of glue at the center of the cover. Fold the cover around the pages, and run your fingers down the sides of the spine. The book will be significantly stronger if the cover makes a good seal against the spine, as the card gives support to the spine.
Drying time from this point will vary depending on the type of PVA glue you use and the weather, but approximately 12 hours is a standard time to wait.
For Instructions on How to Hand Bind a Hardcover Book, click here.
Links
For more bookbinding techniques, visit these good pages on book repair .